Most of what you’ve been told about knives is wrong.
You don’t need expensive knives or professional training. You need one decent knife, the right grip, and a handful of techniques that make every meal faster, safer, and more enjoyable. These are the only ones worth learning first.
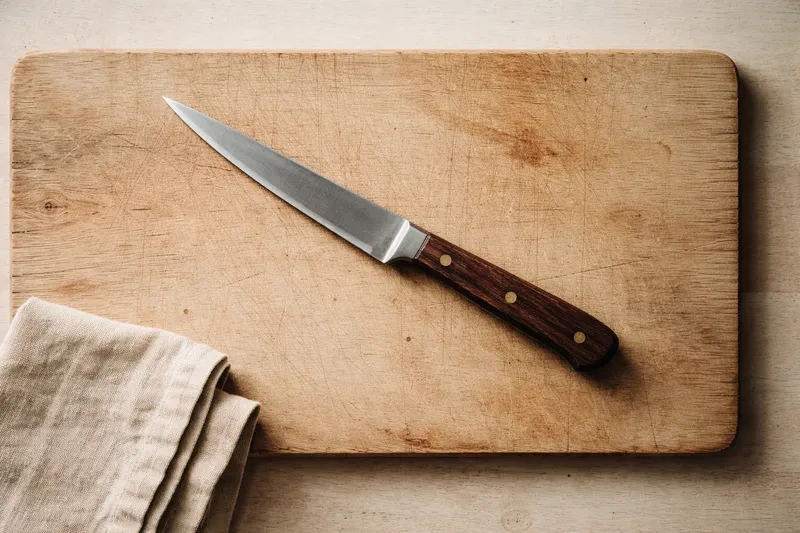
The One Knife You Actually Need
Most home cooks own too many knives and rely on one. That one should be a chef’s knife, 20cm (8 inch), which handles about 90% of everything you’ll ever need to cut. More important than brand or price is that it feels balanced and comfortable in your hand, and that it’s sharp.
Sharp matters more than expensive. A cheap knife that’s been properly maintained will outperform a dull expensive one every time. A honing steel used for a few strokes before each cook keeps the edge aligned day to day, and a sharpening stone every few months brings it back when honing stops making a difference.
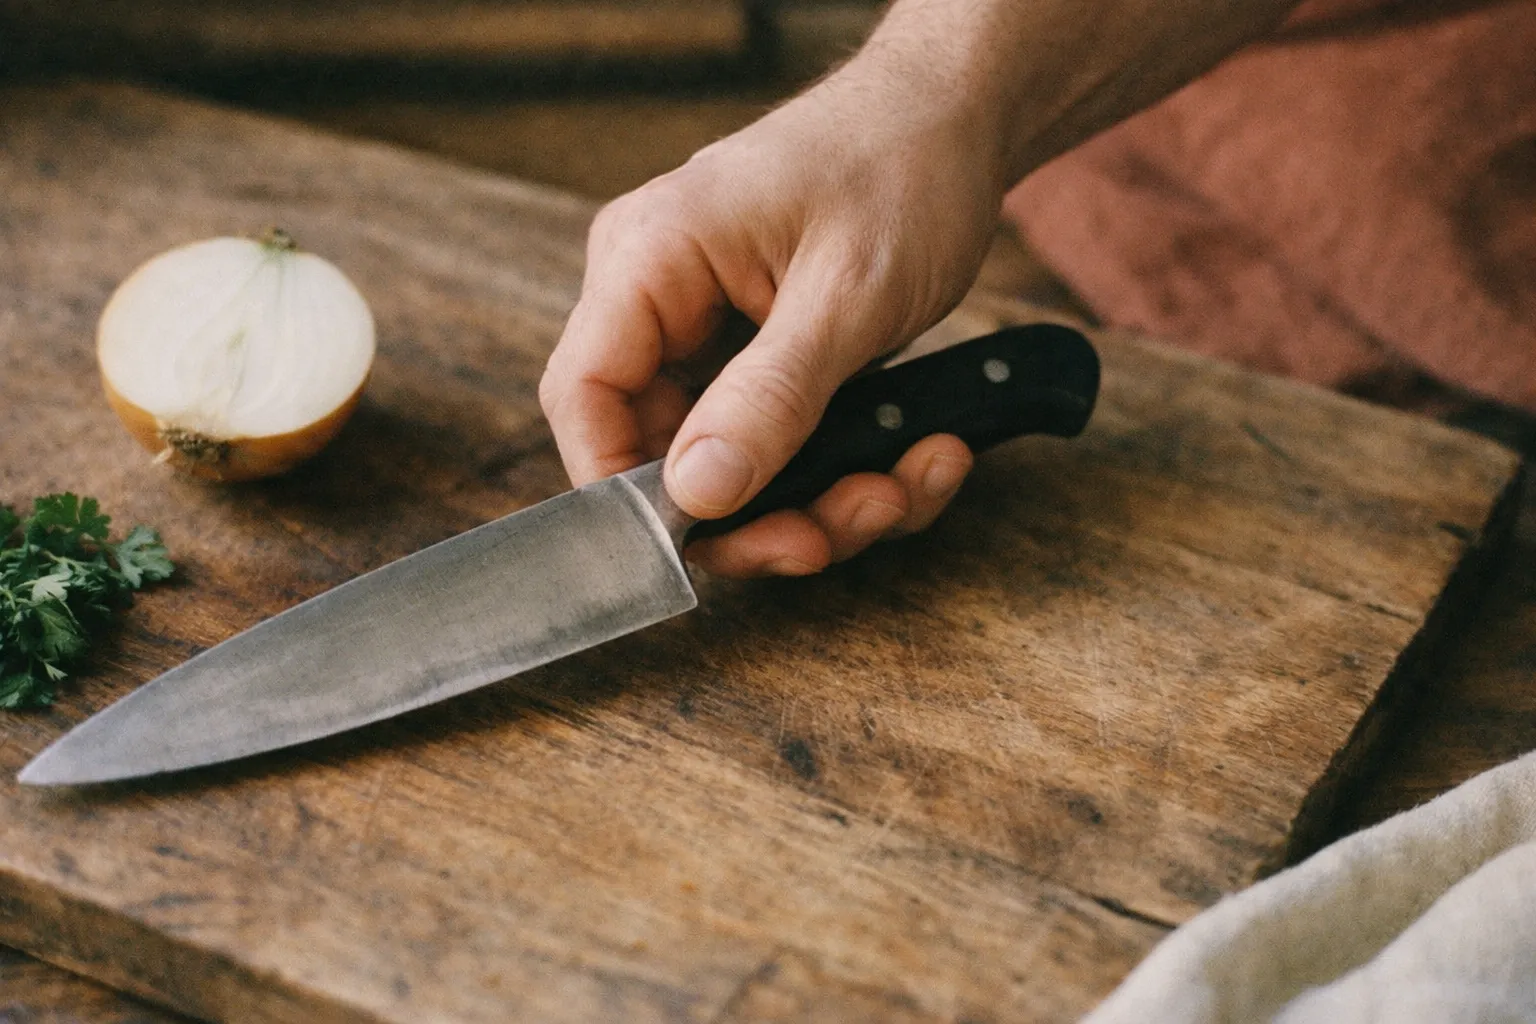
How to Hold a Knife
The instinct is to grip the handle like a hammer, all four fingers wrapped around it. That grip feels secure, but it actually gives you less control than you’d think, and it tires your hand out quickly.
The better option is called the pinch grip, and it’s how professional cooks hold a knife. Place your thumb and the side of your index finger directly on the blade, right where the blade meets the handle, and let your remaining three fingers wrap naturally around the handle. It feels odd for the first few minutes. That feeling passes, and once it does, you won’t want to hold a knife any other way.
The Claw Grip (How Not to Cut Yourself)
Your non-knife hand matters just as much. Curl your fingertips under so your knuckles are the furthest point forward, then let the flat side of the blade rest lightly against your knuckles as you cut. Your fingertips stay tucked safely out of the way, and your knuckles act as a guide rail for the blade.
This is called the claw grip. It’s the single most useful habit you can build in the kitchen. Once it becomes automatic, your cutting gets faster and the risk of accidents drops significantly. It feels awkward for a week or so, then it just clicks.
Three Cuts Worth Knowing
The rock chop keeps the tip of the knife on the board while you rock the heel down and forward through the ingredient. It has a natural rhythm once you get going, and it’s ideal for herbs, garlic, and anything that needs a rough chop.
The push cut starts with the heel of the blade touching the ingredient and pushes forward and down in one smooth stroke. Use this for vegetables and meat when you want clean, even slices.
The pull cut draws the blade toward you rather than pushing forward. It’s gentler, better for soft ingredients like tomatoes or fish that would crush or tear under the pressure of a forward cut.
How to Dice an Onion
This is the technique most home cooks wish they’d learned earlier. Once it clicks, you’ll wonder what you were doing before.
- Cut off the top, leave the root intact; it holds the onion together while you work
- Halve through the root so you have two flat pieces
- Peel both halves
- Make horizontal cuts toward the root, stopping short of cutting through it
- Make vertical cuts down through the layers
- Slice across, and uniform dice falls away cleanly
The root stays attached right up until the final cuts, which keeps the whole thing stable. That’s the technique, not the knife, that makes it quick.
Keep Your Knife Sharp
A dull knife is more dangerous than a sharp one. It needs more force to get through food, which means more chance of slipping. Five strokes per side on a honing steel before each cook takes about ten seconds and keeps the edge performing. When honing stops making a difference, it’s time to sharpen.
Good knife skills are built through repetition, not reading about them. Cook regularly for a few weeks and the grips and cuts become second nature. You stop thinking about them and just do them.