A boneless thigh you butchered yourself costs half the price and loses nothing in the process
Boneless thighs at the supermarket carry a premium for a task that takes under two minutes once you know the motion. Bone-in thighs are cheaper, more widely available, and, when you debone them yourself, give you a flat, even piece of meat that cooks better than anything pre-packaged. The first time feels unfamiliar. By the third, it’s automatic.
You need a sharp knife. A boning knife is ideal because of its narrow, flexible blade, but a short paring knife works just as well. Blunt blades are the only real hazard here. They require more force, which means less control.
Feel the bone before you cut anything
Place the thigh skin-side down on your board. Run your fingers along the centre and you’ll feel a firm ridge running roughly down the middle. That’s the femur. The bone isn’t buried deep; it’s just covered by a thin membrane and a little connective tissue. Before you pick up your knife, take a moment to map where it runs. Your job is to follow it, not fight through the meat to find it.
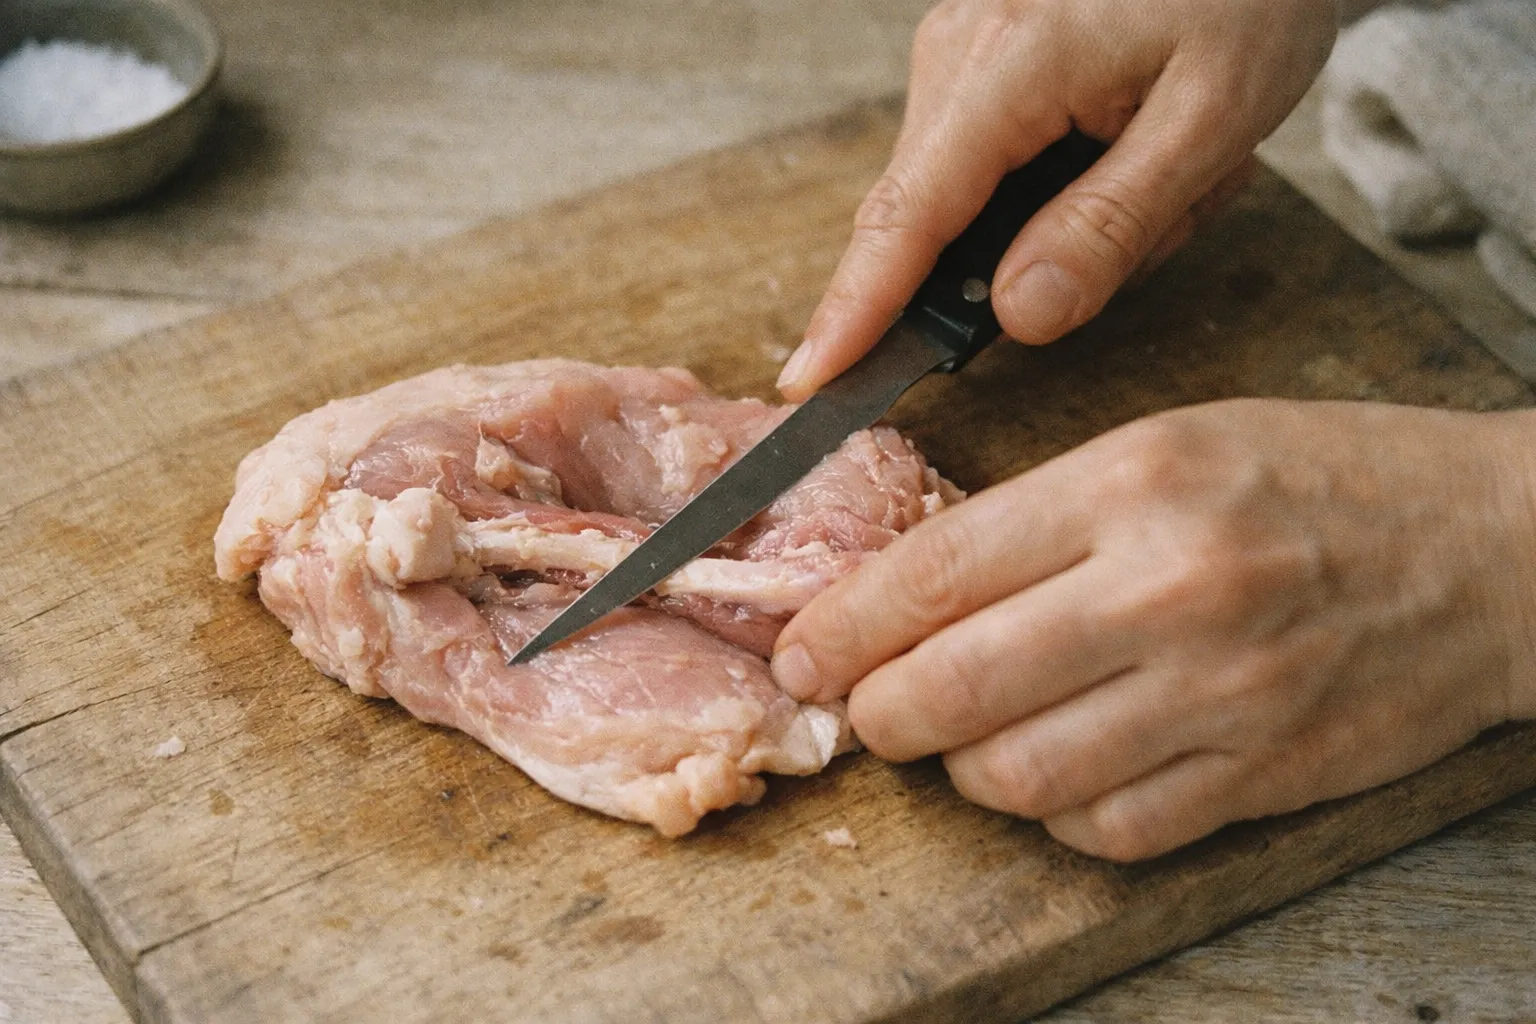
Make one clean cut along the bone
Press the tip of your knife against the bone and draw it lengthways from one end to the other. You’re not slicing through meat. You’re tracing the bone’s surface. Keep the blade angled slightly toward the bone so you don’t cut unnecessarily into the flesh on either side. One pass is usually enough to expose it clearly.
Scrape the meat away from both sides
Use short scraping strokes to work the meat away from the bone, keeping the blade flat against it as you go. The meat releases cleanly once you’re on the right plane. If it’s resisting, you’re cutting through flesh rather than following the bone. Work down both sides until the bone is mostly free. It feels slightly awkward at first, but the motion becomes intuitive quickly.
Pop the bone free at the joint
At one end of the thigh, you’ll hit a small knob of cartilage where the bone connects to the joint. Cut through it directly with a firm, deliberate push. The bone should lift out cleanly in one piece. If it doesn’t come free, go back and scrape a little more rather than forcing it. There’s still meat attached somewhere.
Trim, don’t over-tidy
Once the bone is out, you’ll find some loose cartilage and silverskin. Pull off anything rubbery. It won’t soften with heat and it’s unpleasant to eat. Leave the fat. The thigh’s flavour lives in the fat, and trimming it away to look neat is a mistake that costs you taste. If the thigh is thick at one end, score through that section once or twice so it lies flat and cooks evenly.
Keep the bones
Don’t throw them away. Chicken thigh bones go straight into a zip-lock bag in the freezer. When you’ve accumulated six or eight, cover them in cold water with an onion, a carrot, and a bay leaf, and you have a proper chicken stock in about three hours. That stock is worth more, in both flavour and money, than the few minutes it took to collect the bones.
Debone your own thighs a few times and the motion becomes second nature. After that, paying a premium for the pre-boned version becomes very hard to justify.